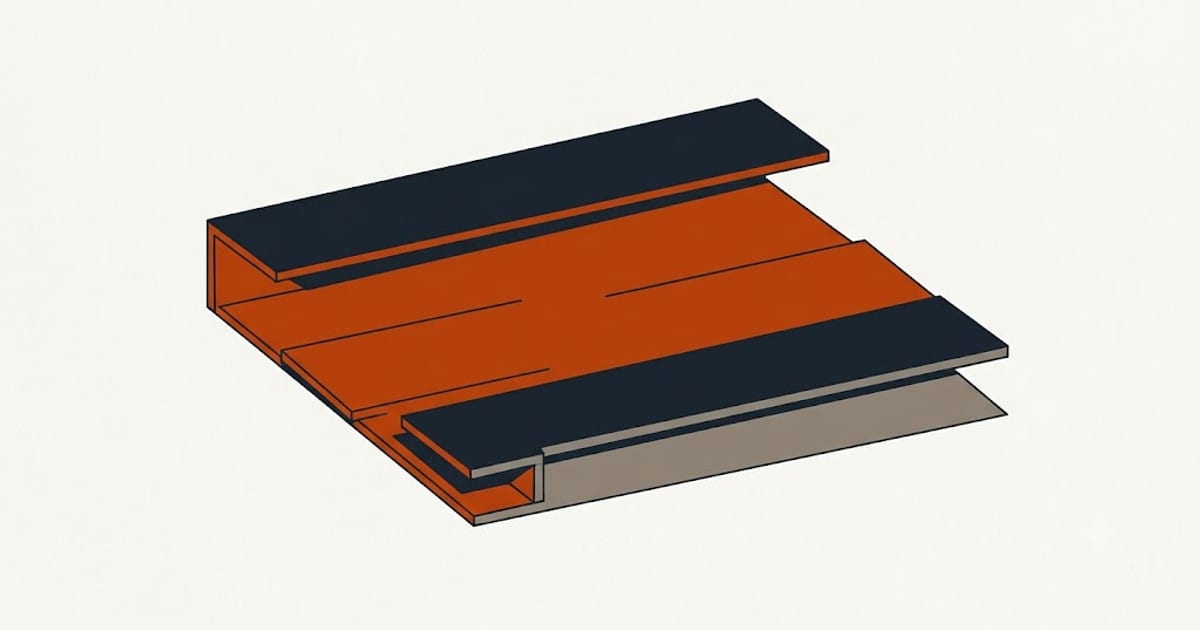
Every opening in a wall is a hole in the water barrier, and the detail around it is what puts the barrier back together.
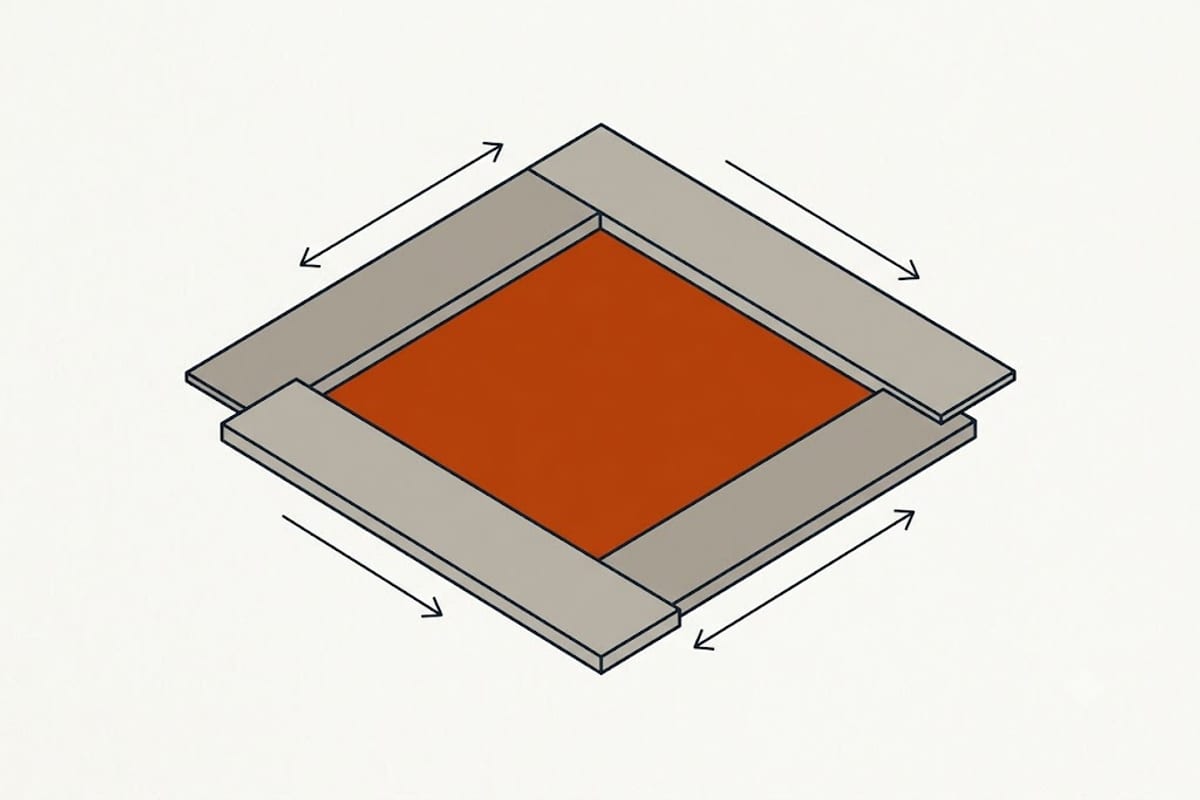
The order, and why it is the order
Water runs down. Each layer must lap over the one below so water stays on the outside.
1. Sill pan flashing into the opening first, with end dams and a back dam, extending out onto the WRB below.
2. The window, set into the opening onto the pan.
3. Jamb flashing, over the window flange, lapping onto the sill pan.
4. Head flashing, over the jamb flashing, and tucked under the WRB above.
That last step is where it goes wrong. Head flashing taped over the top of the WRB directs water behind the barrier — the exact opposite of the intention — and it is invisible once the siding is on.
J-channel is trim, not flashing
J-channel receives the cut edge of the siding and gives a finished appearance. It is not sealed, it is not a water barrier, and water gets behind it routinely.
That is fine, provided the flashing beneath has already handled it. It is not fine as a substitute.
A window detailed with J-channel and a bead of sealant and no flashing will leak into the wall. It may take five years and it will happen.
Where to caulk and where not to
Caulk the top and sides of trim boards where they meet the siding, if the manufacturer's instructions call for it.
Do not caulk the bottom of any trim, the bottom of the J-channel at a window sill, or any weep or drainage path.
Sealing the bottom traps water that the drainage plane is meant to release. This is the most common well-intentioned mistake in exterior work, and it converts a self-draining detail into a reservoir.
Head flashing above trim
Where a window has a trim board above it, that board needs its own head flashing — a metal Z-flashing over its top edge, tucked under the WRB.
A trim board with a caulked top edge is relying on the caulk, and caulk on a horizontal exterior joint has a limited life. Flashing does not.
The order at a deck ledger and other penetrations
The same principle. A ledger board bolted through the siding without flashing is the single most common source of wall rot after windows.
Hose bibs, dryer vents, electrical penetrations and light blocks each need a sealed collar or flashing lapped shingle-fashion into the WRB.
What to look at on a finished job
You cannot see the flashing. What you can see:
Whether the bottom edges are not caulked. Whether there is a visible drainage path at the bottom of the wall. Whether the J-channel at window heads has a piece of flashing visible above it, or nothing.
And whether photographs were taken during installation. Asking for them beforehand is what makes them exist.
Retrofit windows and the siding job
Where windows are being replaced as part of a re-side, doing them together is far better than doing them separately — the flashing can be integrated properly with the WRB rather than surface-applied afterwards.
Where the windows are staying and the siding is coming off, that is still the moment to correct their flashing. It costs very little and it is the reason most of the rot found during tear-off was there in the first place.
The detail at the bottom of the wall
The lowest course terminates above grade — commonly six inches or more — so siding is not in contact with soil and splash does not soak the bottom edge.
A wall sided down to the ground looks tidy and wicks moisture into the sheathing. Where the grade has risen over the years, lowering it is part of the job rather than an optional extra.