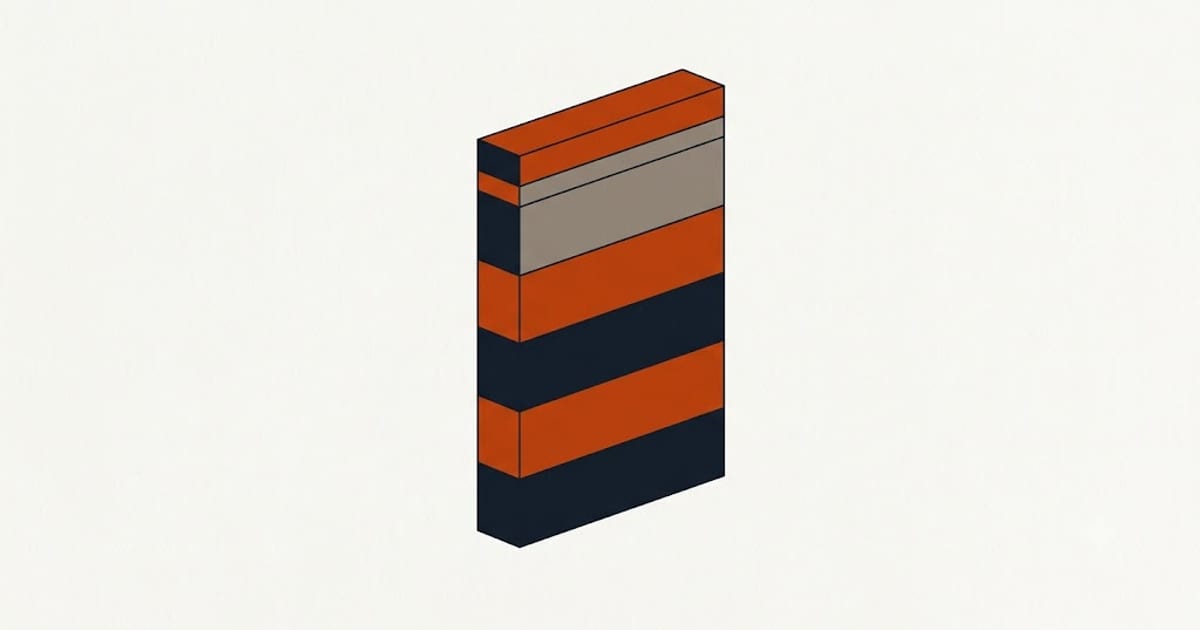
Exposure is the visible height of each course — the part not covered by the course above. For lap siding it is less than the panel height, and it is the number that governs the layout.
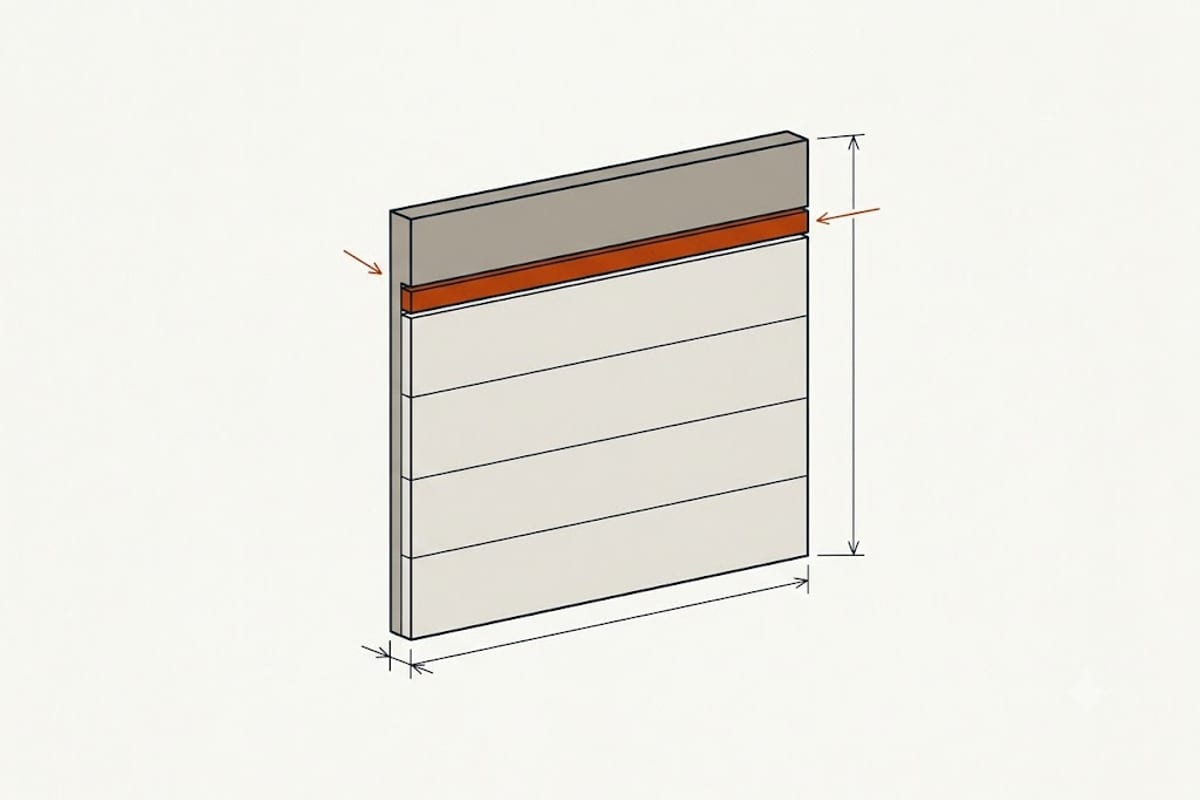
Counting courses
courses = wall height ÷ exposure
A wall 96 inches high with a 7-inch exposure needs 13.7 courses. That means thirteen full courses and a partial.
The partial course has to go somewhere, and where it goes is a decision.
Where to put the partial
Under the eave is the default and it is where it is most visible, because the eye follows the line under the soffit.
At the bottom, ripped down and hidden behind a wider starter or a water table trim, which is usually the better-looking answer.
Split between top and bottom, so neither is obviously partial.
The choice is made by adjusting the starter strip height, which is why the starter position is worth thinking about rather than simply setting at the bottom of the sheathing.
Line up with the openings
The strongest layout tool is to make a course line land at the top of the windows, so the siding above them runs unbroken across the elevation.
Where the windows on one elevation are all at the same head height, that is achievable by adjusting the starter. Where they are not, choose the most prominent one.
A course line that lands an inch above a window head looks like a mistake. One that lands exactly on it looks deliberate.
Wrapping the corners
Course lines have to align where two elevations meet at a corner, or the mismatch is visible from the corner viewing angle — which is how most people see a house.
That means the starter strip has to be set at the same height on both walls, which requires levelling around the house rather than off each wall independently.
On a house where the ground falls, that means the starter is further above grade on the low side. That is correct and it looks right; matching the ground instead produces courses that step and it looks wrong.
Level, not parallel to anything
Set the starter with a level or a laser around the whole house. Do not follow the foundation, the ground, or the existing siding — all three are usually out.
An error at the starter accumulates over thirteen courses and shows up at the eave, where it is visible against a straight roof line.
Exposures available
Lap siding comes in a range of exposures, and some profiles offer a choice.
Narrower exposures — 4 or 5 inches — give a finer traditional look and more courses, which means more labour and more material.
Wider exposures — 7 or 8 inches — go up faster and read as more contemporary.
Double courses — a panel that presents as two courses — halve the number of pieces to hang and are common in vinyl.
Dry run the elevation
Draw the wall to scale with the course lines marked, and look at where the partial falls and how the lines relate to the windows.
Ten minutes on paper before the starter strip goes on is the difference between an elevation that reads as designed and one that reads as installed.
What cannot be fixed later
The starter height sets everything. Once the first course is on and the second locked into it, the layout is committed for that wall.
Changing it means removing what is up, which on vinyl means unlocking every course above.